Embroidery machines are versatile tools that can turn simple fabric into beautiful, intricate designs.
Custom Embroidery patches offer a fantastic way to showcase creativity and style. If you’re new to this or looking to refine your patch-making skills, here’s a step-by-step guide to help you create stunning patches with your embroidery machine.
1. Gather Your Supplies
Before you start, make sure you have all the necessary materials:
- Embroidery Machine: Ensure it’s equipped with the proper settings for patch-making.
- Embroidery Thread: Choose colors that match your design.
- Stabilizer: This provides support to the fabric during embroidery. Options include tear-away, cut-away, and adhesive stabilizers.
- Fabric: Use a sturdy fabric like twill or canvas for the patch backing.
- Backing Material: For durability, use iron-on backing or a fusible interfacing.
- Hoop: Appropriate for your machine size.
- Scissors: Sharp fabric scissors for trimming.
- Embroidery Software: Optional, but useful for designing your patches.
2. Design Your Patch
Using Embroidery Software to create custom Embroidery Patches:
- Open your embroidery software and create or import your design. You can also use pre-made designs or modify existing ones.
- Adjust the design size to fit the patch dimensions you want. Consider the stitch density and details, as very fine details might not translate well to smaller patches.
Manual Design:
- If you’re not using software, sketch your design on paper. Transfer the design to your fabric using transfer paper or a lightbox.
3. Prepare the Fabric and Stabilizer
Fabric Preparation:
- Cut your fabric to a size slightly larger than your patch design.
- Iron the fabric to remove any wrinkles.
Stabilizer Preparation:
- Attach the stabilizer to the back of the fabric. If using an adhesive stabilizer, you can stick it directly to the fabric. For tear-away stabilizers, hoop them along with the fabric.
4. Hoop the Fabric
- Place the fabric and stabilizer in the embroidery hoop. Make sure the fabric is taut and secure to avoid shifting during the embroidery process.
- Tighten the hoop evenly to ensure the fabric stays in place.
5. Embroider the Design
- Load your design into the embroidery machine. Check that the thread colors and settings match your design specifications.
- Position the hoop in the machine and start the embroidery process. Keep an eye on the machine to ensure the stitching progresses smoothly.
6. Finish the Patch
Remove from Hoop:
- Once the embroidery is complete, carefully remove the fabric from the hoop.
- Trim away any excess fabric around the patch design, leaving a small border for finishing.
Apply Backing Material:
- If using iron-on backing, follow the manufacturer’s instructions to adhere it to the back of the patch. This step adds durability and makes it easier to attach the patch to garments.
- For non-iron-on backings, sew or glue the backing material to the patch.
We can check some more details on backing materials here
Trim the Edges:
- Use sharp fabric scissors or pinking shears to trim the edges of the patch. For a clean, finished look, you might choose to add a decorative stitch around the edge.
7. Attach the Patch
- Iron-On Patches: Position the patch on the desired area and iron according to the backing instructions. Place a cloth between the iron and the patch to avoid direct heat.
- Sew-On Patches: Hand-sew or machine-sew the patch onto the garment. Ensure you sew
Tips for Success
- Test First: Always test your design and materials on a scrap piece of fabric to ensure everything works as expected.
- Thread Choice: Use high-quality embroidery threads to achieve vibrant colors and durability.
- Maintenance: Keep your embroidery machine clean and well-maintained for optimal performance.
Creating custom patches with an embroidery machine is a fun and rewarding process. With a bit of practice and creativity, you can produce professional-quality patches that can be used for a variety of purposes. Whether you’re designing for personal use or for sale, this guide should set you on the right path to becoming a patch-making pro.
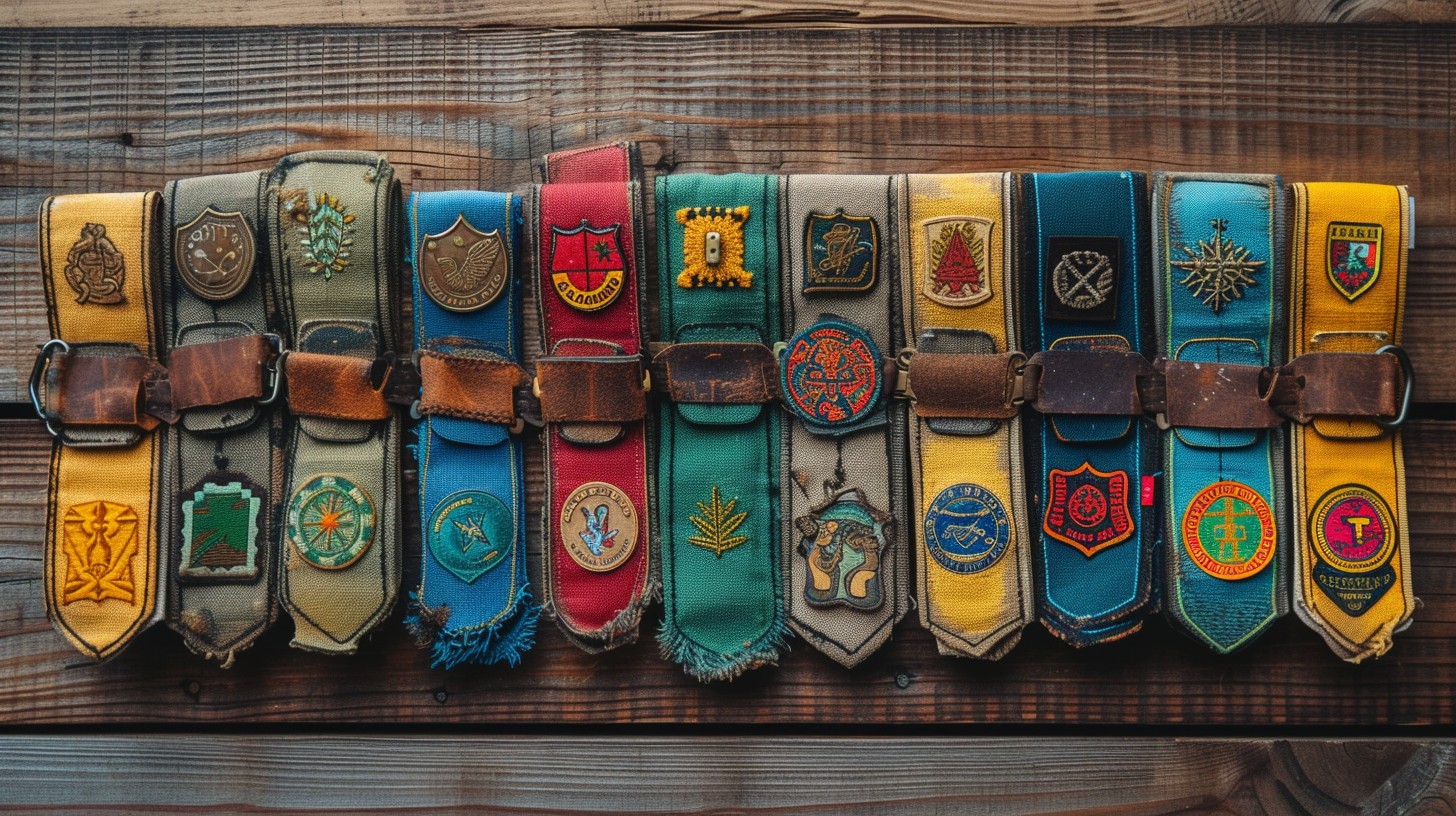
We can check some examples here

Leave a Reply