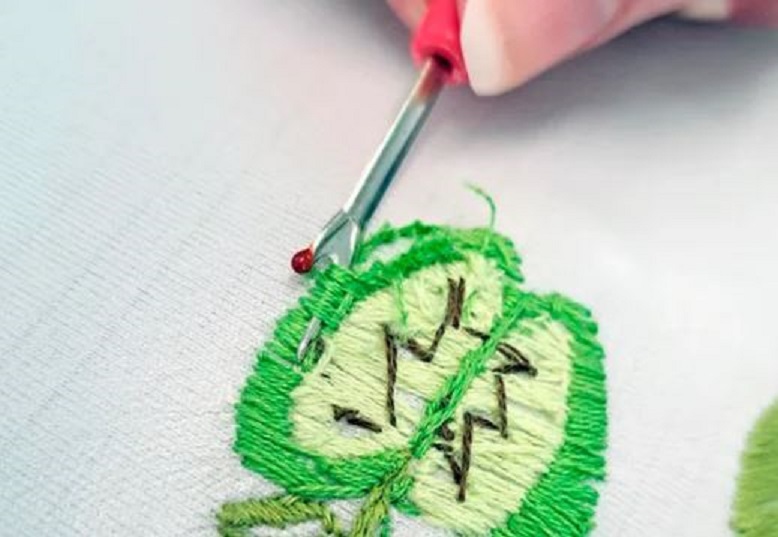
Embroidery is a beautiful and intricate form of art, but there may come a time when you need to remove it. Whether it’s due to a mistake, a design change, or simply the need to reuse the fabric, removing embroidery can be a delicate process. In this guide, we’ll walk you through the steps to remove embroidery without damaging your fabric.
Why You Might Need to Remove Embroidery
- Mistakes: Errors in the design or text that need correcting.
- Design Changes: Updating or replacing old embroidery with new designs.
- Fabric Reuse: Reusing a piece of fabric for a new project.
Tools You’ll Need
- Embroidery Scissors: Small, sharp scissors for precise cutting.
- Seam Ripper: A tool designed to cut through stitches.
- Tweezers: For pulling out small threads.
- Lint Roller: To pick up tiny thread pieces.
- Magnifying Glass: Helps to see stitches clearly, especially for intricate designs.
Step-by-Step Process to Remove Embroidery
- Examine the Embroidery:
- Before starting, closely examine the embroidery to understand the type of stitches used and how they are interlinked. This will help you plan your removal process without damaging the fabric.
- Work on the Backside:
- Turn the fabric over to work on the backside where the stitches are most visible. This allows you to cut the threads more easily without affecting the front of the fabric.
- Start Cutting the Stitches:
- Using embroidery scissors or a seam ripper, carefully cut the stitches. It’s best to start from a corner or an edge where the threads are more accessible.
- Be gentle to avoid cutting the fabric itself. Take your time, especially with dense or intricate designs.
- Remove Loose Threads:
- After cutting a section of stitches, use tweezers to pull out the loose threads. If the threads are stubborn, you may need to go back with the scissors or seam ripper to cut a few more stitches.
- Work in Small Sections:
- To maintain control and prevent mistakes, work in small sections. This allows you to focus on one area at a time, reducing the risk of damaging the fabric.
- Check Your Progress:
- Periodically check the front of the fabric to ensure you’re not damaging it. If you notice any fabric fibers being pulled or distorted, stop and assess the situation before continuing.
- Clean Up:
- Once all the stitches are removed, use a lint roller or tape to pick up any tiny thread pieces left behind. This helps ensure the fabric is clean and ready for its next use.
- Iron the Fabric:
- After removing the embroidery, the fabric may have some creases or indentations from the stitches. Gently iron the fabric on a low setting to smooth it out.
Tips for Avoiding Damage
- Patience is Key: Take your time and don’t rush. Hasty removal can lead to fabric damage.
- Test on Scrap Fabric: If you’re unsure about your technique, practice on a scrap piece of fabric first.
- Avoid Stretching the Fabric: Keep the fabric flat and avoid pulling or stretching it while removing stitches.
What to Do If the Fabric Gets Damaged
If you accidentally damage the fabric while removing embroidery, don’t panic. Depending on the extent of the damage, you may be able to:
- Repair Small Holes: Use a small amount of fabric glue or a matching thread to patch up small holes.
- Cover with New Embroidery: If the damage is noticeable, consider covering it with a new embroidery design.
- Use a Fabric Patch: For larger tears, a fabric patch can be sewn or glued over the damaged area.
Here are some visual guidance about removing embroidery.
Conclusion
Removing embroidery can be a meticulous task, but with the right tools and techniques, it’s entirely possible to do it without damaging your fabric. Whether you’re correcting a mistake or giving an old piece of fabric a new life, these steps will guide you through the process efficiently.
Remember, patience and attention to detail are your best tools in this endeavour. Happy crafting!
Here are some further informational article about Embroidery Services.


Leave a Reply