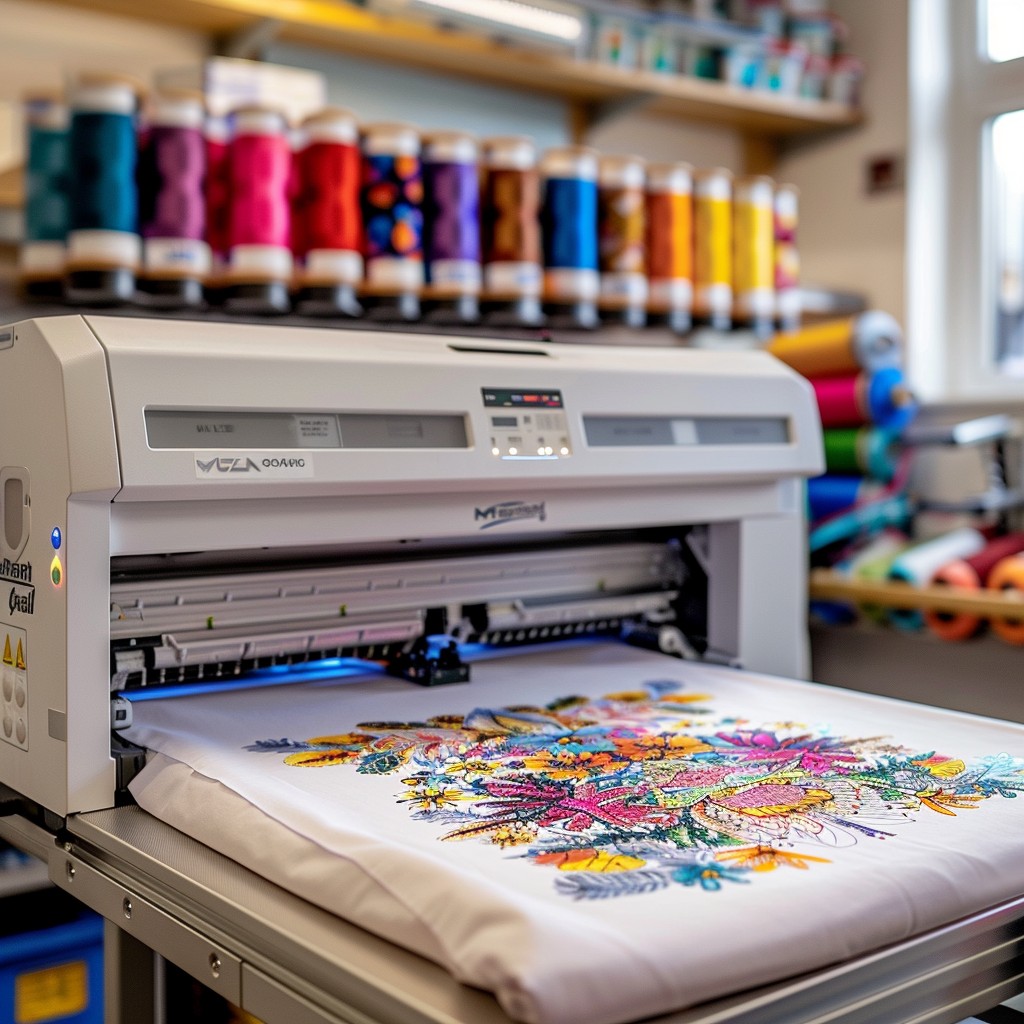
Hatch Embroidery Software stands out as a powerful tool for both beginners and seasoned professionals. Whether you’re crafting personalised gifts, creating intricate designs for garments, or exploring your creative side, Hatch provides a versatile platform for all your embroidery needs. This guide will walk you through the essential steps to get started with Hatch Embroidery Software and make the most of its features.
We can view video details to get comprehensive understanding.
1. Getting Started with Hatch Embroidery Software
1.1. Installation and Setup
Before diving into design, ensure you have Hatch Embroidery Software installed on your computer. Follow these steps for a smooth setup:
- Download and Install: Obtain the software from the official Hatch website or authorized dealer. Follow the installation instructions provided.
- Activation: Use your license key or follow the activation process as prompted to unlock the full features of the software.
1.2. Familiarise Yourself with the Interface
Once installed, open Hatch Embroidery Software and take some time to explore its interface. Key areas include:
- Design Workspace: The main area where you create and edit your designs.
- Toolbars: Located around the workspace, providing access to various design tools and functions.
- Properties Panel: Used to adjust settings and customize elements of your design.
- Library: Contains built-in designs, fonts, and stitches that you can use in your projects.
2. Creating a New Design
2.1. Starting a New Project
- Open a New File: Go to
File>Newto start a new project. - Select the Design Area: Define the dimensions and type of fabric for your project.
2.2. Importing an Image
If you have a specific image or graphic you want to use:
- Import Image: Go to
File>Importand select your image file. - Convert to Embroidery: Use the built-in auto-digitizing tools to convert the image into an embroidery design. You may need to adjust settings for best results.
3. Designing and Editing
3.1. Adding and Editing Stitches
- Select Stitch Type: Choose from a variety of stitch types such as satin, fill, or running stitches from the toolbars.
- Draw Stitches: Use drawing tools to create stitches directly on your design. You can adjust the shape, size, and density as needed.
3.2. Using Text and Fonts
- Add Text: Click on the text tool and type your desired text. Choose fonts from the library or install new ones if needed.
- Customize Text: Adjust size, spacing, and alignment using the properties panel.
3.3. Applying Colors and Threads
- Select Thread Colors: Choose thread colors from the color palette to apply to different parts of your design.
- Assign Colors: Click on specific areas of your design to assign colors. Hatch provides a range of thread brands and color charts for accuracy.
4. Previewing and Testing
4.1. Design Preview
- Use the Preview Function: Click on the preview button to see how your design will look when stitched. This helps identify any issues before actual embroidery.
4.2. Test Stitching
- Save and Export: Save your design in the appropriate file format (e.g., .pes, .dst) for your embroidery machine.
- Run a Test Stitch: On a sample fabric, test your design to ensure everything is functioning as expected.
5. Saving and Exporting Designs
5.1. Save Your Work
- Save Regularly: Use
File>Saveto keep your work updated. It’s wise to save in multiple formats if you’re planning to work on the design later.
5.2. Export Designs
- Export for Machine: Go to
File>Exportand choose the file format compatible with your embroidery machine. - Transfer to Machine: Use a USB drive or other methods to transfer your design to the embroidery machine.
6. Additional Tips and Tricks
6.1. Utilize Tutorials and Resources
- Explore Built-in Tutorials: Hatch provides various tutorials and guides within the software. Make use of these resources to enhance your skills.
- Join Online Communities: Engage with other users through forums and social media groups to exchange tips and get inspiration.
6.2. Practice Regularly
- Experiment with Different Designs: The more you use Hatch, the more proficient you’ll become. Experiment with various techniques and designs to master the software.
6.3. Keep Software Updated
- Install Updates: Regular updates can provide new features and bug fixes. Check for updates periodically to keep your software running smoothly.
Conclusion
Hatch Embroidery Software is a robust tool that empowers you to create intricate and beautiful embroidery designs with ease. By following this guide, you can navigate the software’s features, create stunning designs, and bring your creative visions to life. Whether you’re a hobbyist or a professional embroiderer, mastering Hatch will enhance your crafting experience and enable you to produce high-quality embroidery projects. Here we can check some outputs of using embroidery software.


Leave a Reply