If you’ve recently acquired an embroidery machine or are considering getting one, you’re in for an exciting journey into the world of fabric art. Embroidery machines can turn ordinary textiles into extraordinary works of art with intricate designs and personalised touches. Here’s a step-by-step guide to help you get started with your embroidery machine.
1. Get to Know Your Embroidery Machine
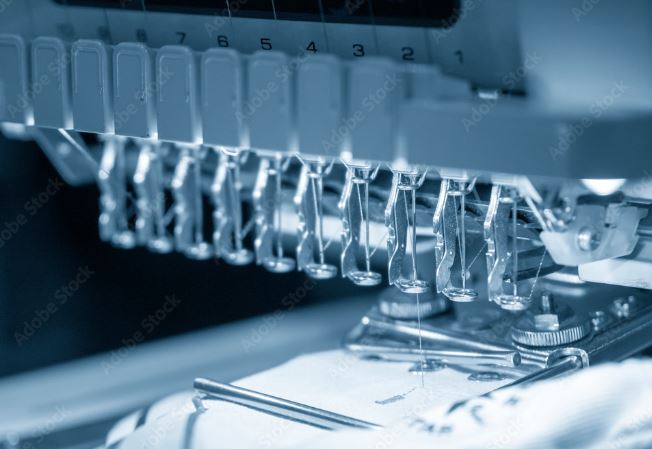
Before you dive into stitching, get familiar yourself with your machine. Most embroidery machines come with a manual, but a quick overview of the essential parts can be beneficial:
- Control Panel: The interface where you select designs and settings.
- Embroidery Hoops: Frames that hold the fabric taut during stitching.
- Needle and Presser Foot: Essential for the actual stitching.
- Thread Spools and Bobbin: The thread supplies for the top and bottom of the fabric.
- Feed Dogs: Teeth-like structures that move the fabric under the needle.
2. Set Up Your Workspace
Create a comfortable and organized workspace. Make sure you have adequate lighting and enough space for both the machine and your fabric. A stable table is crucial to prevent vibrations that can affect stitching quality.
3. Prepare Fabric for Embroidery Machine
Choose a fabric suitable for embroidery. Lightweight fabrics like cotton or linen are great for beginners. To keep the fabric stable:
- Use Stabilizers: Place a stabilizer (tear-away, cut-away, or wash-away) underneath the fabric to prevent puckering.
- Hoop the Fabric : Place the fabric in the embroidery hoop, making sure it’s taut and centered. The stabilizer should also be in the hoop.
4. Thread the Machine
Proper threading is crucial for smooth operation:
- Top Thread: Place your thread spool on the spool pin, thread it through the machine’s guides, and through the needle.
- Bobbin Thread: Wind a bobbin with the same thread or a complementary one. Place it in the bobbin case or compartment, following your machine’s instructions.
Here we can find some more types of threads to be used in embroidery machines.
5. Choose and Load Your Design
Most modern embroidery machines come with built-in designs or allow you to import new ones:
- Built-In Designs: Use the control panel to browse and select from pre-loaded designs.
- Imported Designs: Transfer designs from a computer or USB stick to the machine, following your machine’s specific instructions.
6. Adjust Settings
Set your machine’s parameters according to the design and fabric:
- Stitch Density: Adjust based on the fabric type and design complexity.
- Thread Tension: Ensure that the top and bottom threads are balanced to avoid issues like thread breakage or uneven stitching.
- Needle Type: Select a needle suited for your fabric (e.g., ballpoint needles for knits).
7. Run a Test Stitch
Before you start on your final project, it’s wise to do a test stitch on a scrap piece of fabric. This helps you:
- Check design placement and alignment.
- Make any necessary adjustments to thread tension or stabilizer.
8. Start Embroidering
Once everything is set:
- Position the Hooped Fabric: Place the hoop onto the embroidery machine, making sure it’s securely attached.
- Begin the Embroidery: Press the start button and watch the machine do its magic. Keep an eye on the process to ensure everything runs smoothly.
9. Finishing Touches
After the embroidery is complete:
- Remove the Fabric from the Hoop: Carefully take out the fabric and trim any excess stabilizer.
- Remove Excess Threads: Clip any loose threads using thread snips or scissors.
- Press the Fabric: Iron the fabric to smooth out any wrinkles and ensure the embroidery is well-set.
10. Maintain Your Machine
Regular maintenance is key to keeping your embroidery machine in top shape:
- Clean the Machine: Dust and lint can accumulate, affecting performance. Regularly clean the bobbin area and needle plate.
- Check Needle and Thread: Replace needles as needed and use high-quality thread to avoid issues.
- Service the Machine: Follow the manufacturer’s recommendations for professional servicing.
Conclusion
Using an embroidery machine can be a delightful and rewarding experience, transforming simple fabrics into personalised treasures. With these steps, you should be well on your way to creating beautiful embroidered designs. Remember, practice makes perfect, so don’t be afraid to experiment and learn as you go. Happy stitching!
Here we can find some samples

Leave a Reply